Master Simple Yellow Nail Art: 10 Quick and Easy Designs You Can Do at Home
Updated: 01/02/2025
213
Do you want nice nails? You can do them at home cheaply. It’s easy. You are not the only one. A lot of people who love nails think that making nail art is too hard. They think you need expensive things or to be a skilled person early on.
Nail art can be easy! Just be creative and use the right ways; you can achieve Simple Yellow Nail Art that looks professional, fresh, and fun—all from the comfort of your home.
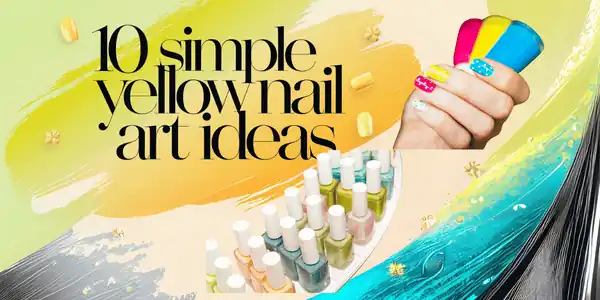
We will show you ten easy yellow nail designs. French tips and sunflowers are among them. Beginners can make these; if you love classic nail styles, check out our French tip nails guide for even more inspiration!
Let’s dive into these cheerful, sun-kissed nail designs and get your hands looking fabulous!
| Key Takeaways: |
|---|
|
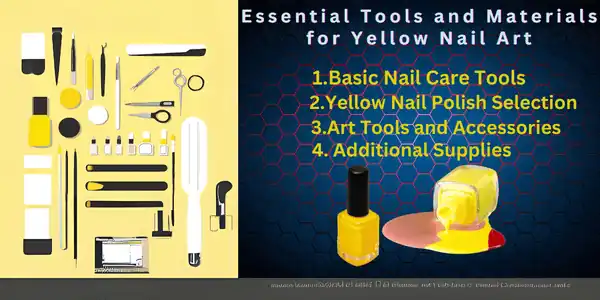
Essential Tools and Materials for Simple Yellow Nail Art
Basic Nail Care Tools
For your simple yellow nail art, grab clippers, files, and buffers. Use a base and top coat for durability. Have cotton pads and remover ready to fix any mistakes.
Yellow Nail Polish Selection
Choose high-quality yellow nail polishes in different shades – from pale lemon to vibrant sunflower.
Opt for both regular and gel formulations, depending on your preference. Consider getting metallic and glitter variants for added dimension.
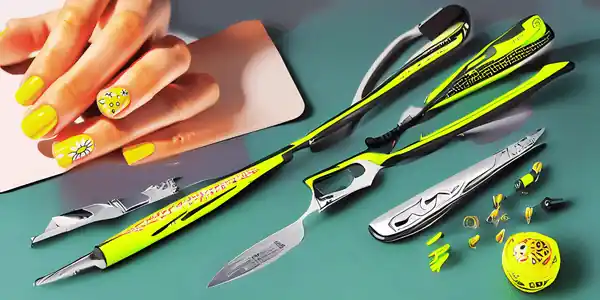
Art Tools and Accessories For Simple Yellow Nail Art
For thin brushes, dotting tools, and striping tape, as well as many patterns, yellow works well. For clean edges and a professional finish, use a cleaning brush to clean up around the edges.
Additional Supplies
Have cuticle oil to keep nails healthy as you switch polish often. Use tiny jars to mix colors and make gradients. You can use quick-dry drops to fasten the drying time.
Storage Solutions
Put your tools in a special box so you can find them fast. Use see-through boxes for yellow polish and art stuff. Cover the table with a vinyl mat or paper.
Key Takeaway: A well-organized collection of quality tools, including various yellow polishes, precise art implements, and proper storage solutions, forms the foundation for creating stunning yellow nail art at home.
Preparing Your Nails for Art
To do bright yellow nails, first get your nails ready. It helps give a neat look. Here is what you can do.
Clean and Shape
Use a non-acetone remover. Shape the nails by filling them squarely, roundly, or like almonds. Buff the surface to make it smooth and even.
Cuticle Care
Wet your fingers in warm water. Then, you can use an orange stick to push your cuticles. You should apply some cuticle oil before you must keep your cuticles moisturized. If there are hangnails, trim them with scissors.
Base Preparation
Could you wash your hands well and dry them? Clean each nail with alcohol to help the polish stick better. Use a good base coat. This stops yellow polish from staining.
| Quick Tips: |
|---|
|
Key Takeaway: Proper nail preparation, including thorough cleaning, shaping, and base coat application, is crucial for achieving long-lasting and professional-looking yellow nail art designs.
Basic Simple Yellow Nail Art Techniques
Essential Tools and Materials
Begin by collecting high-quality yellow nail polish, both regular and gel. Use thin brushes, dotting tools, and striping tape for precision. Don’t forget the base coat and top coat for lasting results.
Have cotton swabs and polish remover for easy fixes. A clean brush with acetone helps with crisp edges. These tools make your creative process easy and fun.
Basic Techniques to Master
Put on a flat yellow coat. Let it dry. Use a dot tool with polish. Make dots in a pattern. Striping is fun! Use tape for straight lines or patterns. Paint on top and take off the tape while still wet. For fading colors like a sunset, use a sponge with light yellow shades. Work fast because the polish dries quickly! Don’t forget a clear coat to seal it all.
Key Takeaway: Master basic, simple yellow nail art by gathering essential tools and practicing fundamental techniques like dotting, striping, and gradient effects for professional-looking results at home.
Simple Yellow Nail Art for Short Nails
Short nails can look beautiful, too. Yellow nails are lively and bright. Ideal for busy people who want striking nails.
Minimalist Yellow Tips
Give a new look to your short nails. Use a nude base, then add yellow tips. This makes your nails look long yet classy.
Polka Dot Perfection
Make lovely yellow dots on a soft background with a dotting tool or bobby pin. Evenly, space the dots for a cheerful and elegant look. This design is perfect for small nails as it makes a quick impression.
Diagonal Split Design
Firstly, paint half of the nails yellow. The other halves should either be left as natural or painted in suitable colors. To make neat slanting lines, apply nail tape to them. A geometric design makes short nail beds look more stunning.
Yellow Accent Nail
Color one nail on each hand a bright yellow. Keep the others neutral. This strikes a balance; it is bold but still professional.
Simple Striped Pattern
Make thin yellow stripes on a light nail base using tape or a brush. There should be only a few lines, and they should be spaced well. This design is classy yet simple on small nails.
Key Takeaway: Short nails shine with simple yellow nail art like minimalist tips, polka dots, diagonal splits, accent nails, and subtle stripes, proving that limited nail space doesn’t limit creativity or style.
Statement Simple Yellow Nail Art
Bold and Beautiful
Yellow nail art schemes are a great way to revamp your nails. They declare your existence and will have heads turning even if there is a vibrant base color beneath. You have to pick the correct shade of yellow according to your skin tone; that particular shade can still look bold without being garish.
Geometric Patterns
Go for cut-out designs on yellow nails. Draw many triangles and squares. Use black and white for contrast. This shows creativity and is fun to bear.
Negative Space Designs
Use negative space in simple yellow nail art. Show natural nails through patterns. This gives a chic look to bright yellow nails.
Glitter Accents
Brighten up your yellow nails by adding some sparkle. Glitter highlights on one or two nails make the yellow stand out. Gold and yellow look rich and sunny for any event.
Mixed Media
Try different textures and finishes on your yellow nails. Use matte and shiny topcoats. Add 3D elements like studs or rhinestones. This makes your nails stand out.
Key Takeaway: Statement simple yellow nail art combines bold color choices with creative design elements like geometric patterns, negative space, and mixed textures to create eye-catching manicures that demand attention.
Seasonal Yellow Nail Inspirations
Spring Blossoms
Welcome the season of renewal with delicate yellow nail designs that mirror nature’s awakening. Light pastel yellows paired with tiny
white flower accents create a fresh, springtime look. Add small green leaves or delicate branches to capture the essence of blooming flowers.
Summer Sunshine
Embrace the vibrant energy of summer with bold, bright yellow designs. Consider incorporating sunset gradients or beach patterns. Mix in metallic accents to reflect the golden summer sun, or add tropical elements like tiny palm trees and pineapples for a playful vacation vibe.
Autumn Warmth
As leaves change colour, they shift to deeper yellow shades like mustard or honey. Create designs featuring falling leaves or incorporate warm orange and brown accents. Abstract patterns using these autumn-inspired colors can create a sophisticated seasonal look perfect for cooler days.
Winter Sparkle
Transform winter’s chill into magical nail art using pale yellow bases with silver or white shimmer. Add snowflake patterns or geometric designs in metallic colors. For holiday celebrations, incorporate gold accents or tiny star details to capture the festive spirit.
Year-Round Versatility
Yellow nail art isn’t limited to specific seasons. Create transitional designs by mixing seasonal elements or choosing neutral yellow shades that work throughout the year. Experiment with different finishes – matte for fall, glossy for summer, or pearl effects for spring.
Key Takeaway: Yellow nail art adapts beautifully to every season, from spring’s soft pastels to winter’s sparkly designs, offering year-round options for expressing your style through seasonal inspiration.
Professional Tips for Perfect Yellow Nail Art
Essential Tools and Preparation
Gather quality brushes, otters, and shades of yellow polish. Clean your nails and apply a base coat to make the design stick.
Color Selection Strategy
Choose yellow shades that complement your skin tone. Warmer undertones work well with golden yellows, while cooler undertones pair beautifully with lemon or pastel yellows. Always test the polish on a nail wheel first to see how it looks when dry.
Application Techniques
Put on thin coats instead of one thick layer. Wait for 2-3 mins between layers. Use a small brush with nail polish remover to fix mistakes around the cuticles when doing detailed designs.
Sealing Your Design
Coat the artwork with a top coat. Brush it on gently to avoid smudging. Let the brush glide over the design without pressing hard. This will make the details stay sharp, and also make the manicure shine and last long.
Key Takeaway: Master yellow nail art by using proper tools, selecting complementary shades, applying thin coats, and sealing with a quality top coat for long-lasting, professional-looking results.
Conclusion:
Yellow nail art is more than just a trend—it’s a fun and expressive way to boost your confidence and showcase your personality. With these 10 Simple Yellow Nail Art designs, you use tools to create stunning manicures at home, no salon required!
- Start simple with designs like French tips or polka dots.
- Experiment with shades—pastels for a soft look, neon’s for a bold statement.
- Practice makes perfect—as your skills grow, try intricate designs like sunflowers or geometric patterns.
Looking for even more nail art inspiration? Check out our DIY Metal Nail Art guide for a stylish twist on your manicure routine!
Now, it’s time to gather your tools and bring these cheerful designs to life!
FAQs:
How long does yellow nail art typically last before it starts to fade or chip?
Yellow nail art lasts 1-2 weeks. Use a base coat and a top coat. Reapply it. Avoid harsh chemicals.
Can I create yellow nail art designs on natural nails, or do I need artificial nails?
Both natural and artificial nails can be painted with yellow nail art designs. A proper base coat should be applied before using yellow polish to prevent staining.
What’s the best way to prevent yellow nail polish from staining my natural nails?
Wear a strong base coat under yellow polish. A base layer that is as thick as possible makes for better protection. After removing the nail polish, buff them gently. Use a nail brightener treatment for the sake of nail health.
Are there specific yellow nail polish shades that work better for different skin tones?
Yes, warmer skin tones typically look best with golden yellows and mustard shades, while cooler skin tones pair well with bright, lemony yellows. Pale pastel yellows are universally flattering and work as a great starting point for nail art designs.
How can I fix streaky or uneven yellow nail polish application?
Put on thin layers. One thick coat is not a good idea. Wait 2-3 minutes between layers. Use 2-3 layers for covering well. If the polish is thick, add a drop of thinner. Baby powder will give an even finish.
What tools do I need to start creating basic yellow nail art designs at home?
Essential tools include yellow nail polish, base coat, top coat, thin brushes, dotting tools, nail tape, and clean-up brushes. Bright yellow and pastel yellow shades for designs.
Please Write Your Comments